Site Map
Current Week
Daynotes Gang
Orb Designs Test Labs
Debian 2.2 Rev 2 Installation Page Two
 Email Brian Bilbrey
|
Orb Home Site Map Current Week Daynotes Gang |
Orb Designs Test Labs |
Email Brian Bilbrey
|
 As previously noted, there's a lot of lead-in activity to setting up your filesystems under Linux. Some distributions will set up your partitions for you, and do a very nice job (in exactly the same manner that you could have any color Model T you wanted, as long as it was black). Additionally, when dual- or multi-booting, doing the research to exercise the proper control over your system is highly recommended. This is also true when running a server, where your workloads will to some extent dictate your partition layout. OK. Water under the bridge.
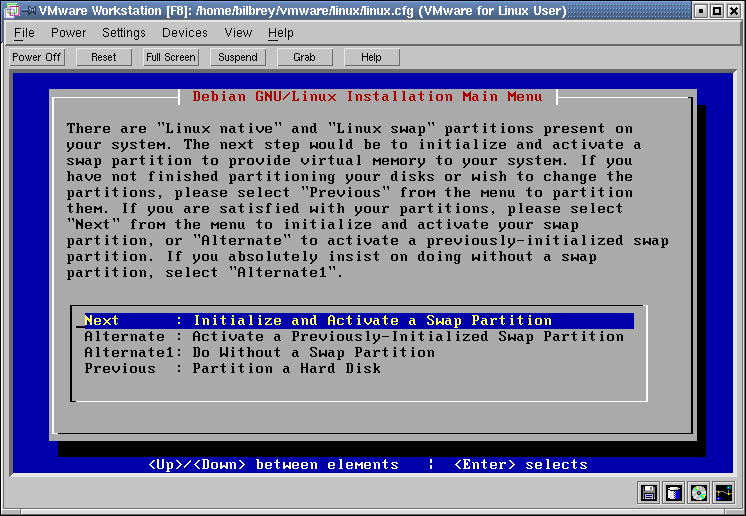
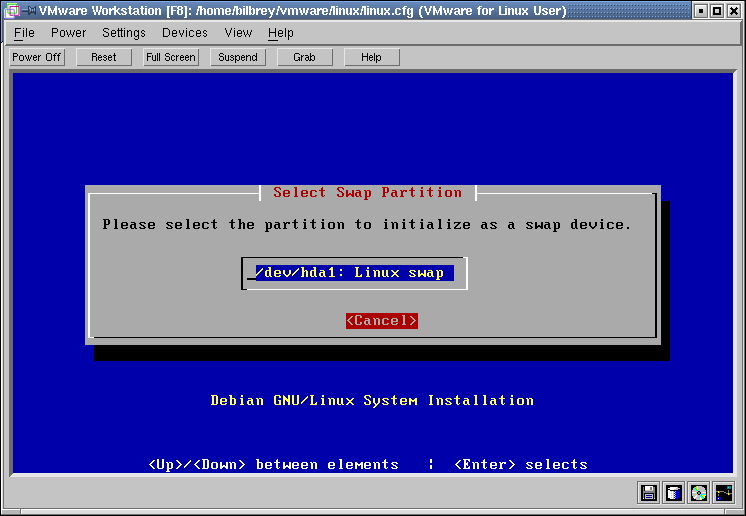 With the partitioning step well behind us, the next menu option is to Initialize and activate a swap partition. If you've defined more than one swap, then activate them all, by returning manually to this step in the main menu until complete. Select a swap partition, and then press Enter to continue. And you're right, this is not the most self-consistent installation system in the world, but it work, and Debian is a joy in operation - take my word on this.
 The next step is to affirm or deny the Bad Blocks Scan sub-process in the filesystem build. My usual routine involves running a bad blocks scan at this point in an install on a brand-spanking new drive, or if I've had the drive long enough that I can't remember when I last scanned it. That's usually frequent enough, at least for me. But then, I swap distro's often enough that I like to check every once in a while. Do check with a new drive, please, since it'll save you lots of grief and confusion if any possible bad blocks are mapped out prior to install. The alternative is the possibility of some extremely weird and hard-to-diagnose behaviour out of your new Debian Gnu/Linux system. This is a yes or no question, either way the next step is the same.
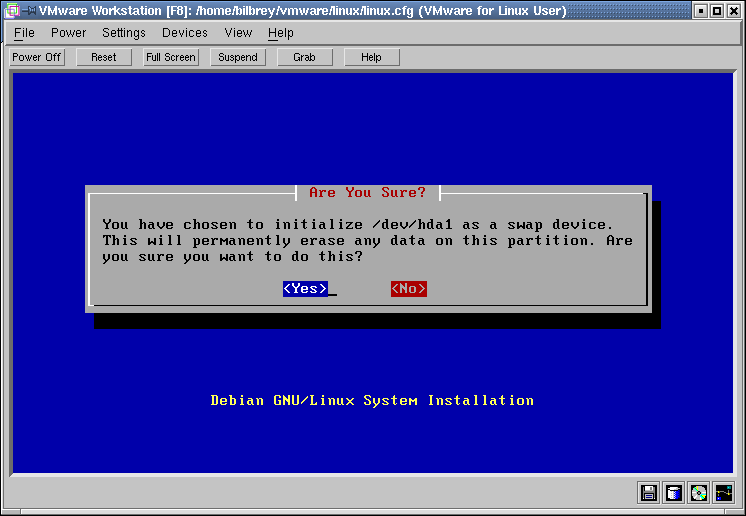 After all the questions have been answered, then you have one last shot to cancel the process. If you've done the right thing, then you have a list of the partitions that you are formatting, what their destination mount points are, and which partitions you're leaving behind (like other Linux installs, Windows partitions or whatever - those that shouldn't be touched). Confirm that you're on the right track one last time, then choose Yes if you're really sure, No if you are not.
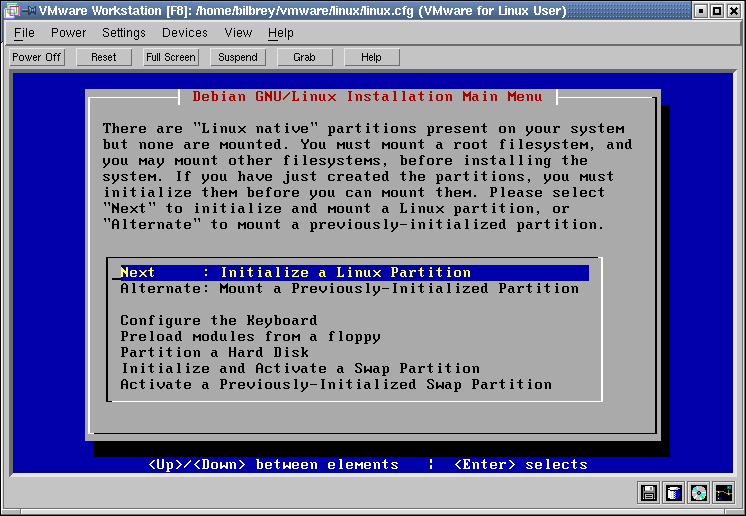 After a span of a few seconds (or a couple of minutes, depending on your system speed, the size of your swap partition, and whether you are checking for bad blocks or not), the main menu returns to the screen, with the next step in the process highlighted: Initialize a Linux Partition. As I wrote above, if you have more swap partitions to configure, do so now by selecting Initialize and activate a Swap partition again, until those are done with.
Now, to initialize a Linux partition. The most important thing that the installer doesn't tell you here is that this first partition you initialize MUST be your root ("/") partition. There are a couple of other restrictions that are present, as well. If you are going to create first and second tier partition mount points (eg.: /usr and /usr/local), then always initialize the first tier partition first. Then there's something there when the second tier is formatted and installed. Look at it this way, if you make /usr/local first, where are you going to put it? /usr isn't ready yet (except as a mount point off of the root partition; one that's going to be overloaded by the dedicated /usr partition when you initialize that).
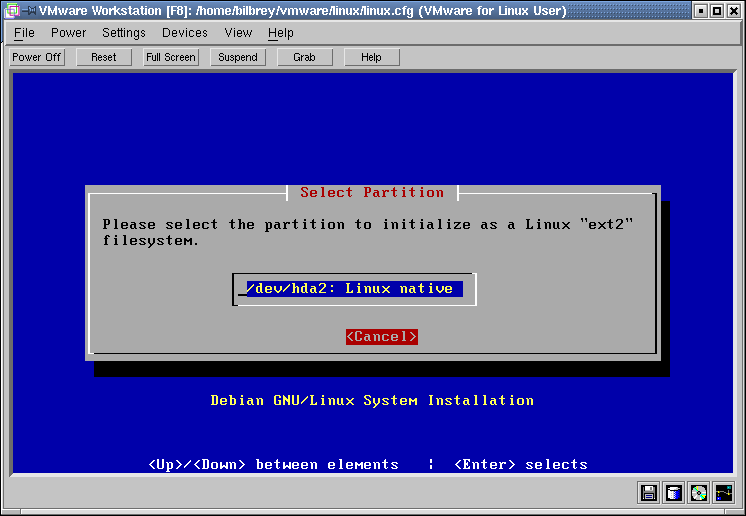 Of course, in the case of this brief tutorial, with only one tiny partition to our names, all of this doesn't enter into the equation. I simply choose the only non-swap partition there is:
 /dev/hda2. In a system like my Grinch (the main workstation around these parts), I currently have it booting three different Linux distributions, plus Windows, and a couple of VMware distros, as well. All this in 35 Gig of space. Between the two disks, I have about 25 partitions, various active with any given boot. A good current list of which partitions are devoted to what activity is a very good thing. One thing: all the Linux distro's share the two swap partitions (where the active swap partition is on the spindle that doesn't contain the current / and /usr. This helps with efficiency when the system is loaded down.
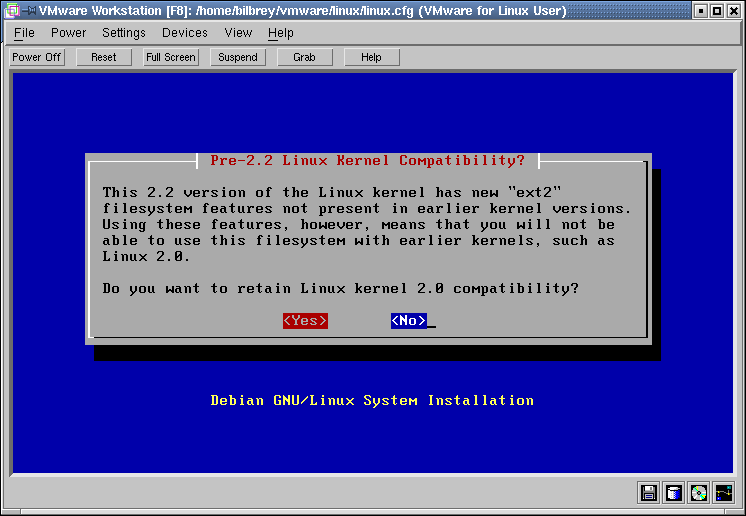 Surprisingly, there are still many systems that are running Linux 2.0.x - it's a known stable quantity, solid for many server applications, and as long as the holes are properly patched, why upgrade, eh? However, the Ext2 Filesystem (aka Linux Native) changed between 2.0 and 2.2. If your system is going to dual-boot with a Linux 2.0.x kernel, then select Yes to this question, to retain compatibility with the older kernel. A No response permits use of the newer extended features of the 2.2 version filesystem, including sparse superblocks (where the superblock information doesn't take up nearly as much space on the drive, among other things.
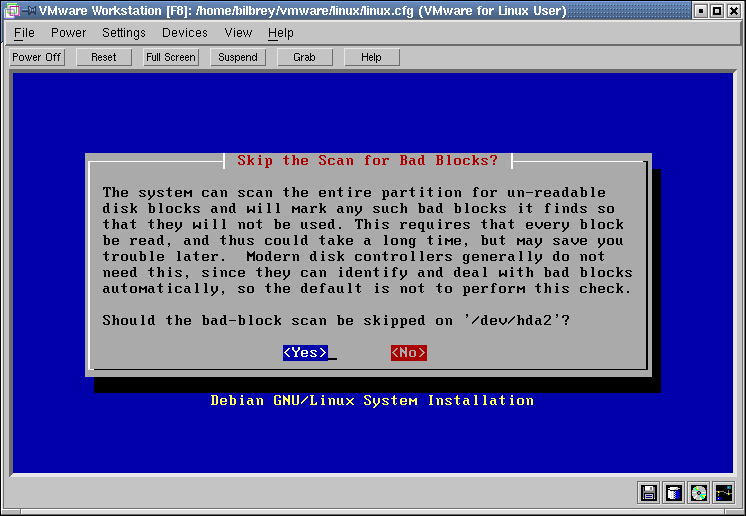 Again, we have the bad blocks question to answer, followed by the separate confirmation screen. This is a differently significant question at this point than at the swap partition initialization step... Checking for bad blocks takes a non-trivial amount of time. Tens of minutes to an hour or more - imagine running a surface scan on an 80G drive - the scan involves write testing every sector, and there's a lot more sectors on drives today than just a couple of years ago. This can be planned for - meals, television shows, and the occasional necessary sleep can all fit into bad-block checking <g>.
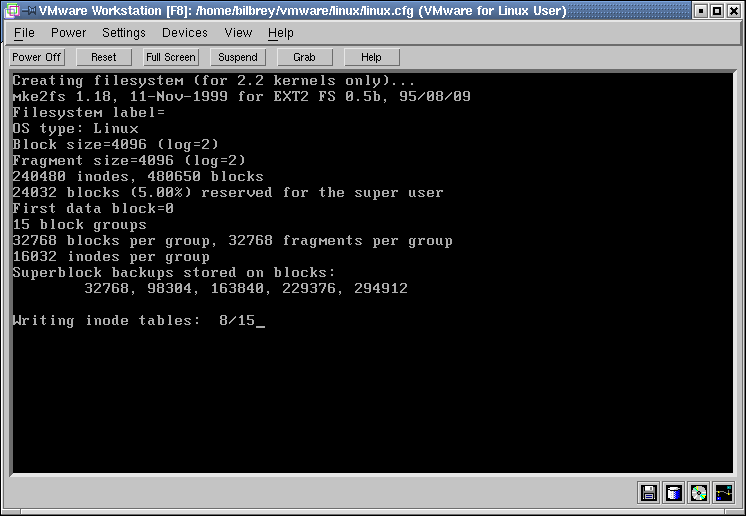 Finally, the formatting process happens. Lots of information is displayed about the version, configuration and structure of the nascent filesystem. From block and fragment size to Superblock backup locations, extremely pertinent information is imparted at this screen. For the professional sysadmin, this information is critical to her ability to recover the data from a damaged drive or corrupt filesystem. If your data has significant value make multiple redundant backups on a regular basis, and keep this information about your drives logged, against the day you might need it. Without a check for bad blocks, generally any size partition is formatted and ready in a minute or two, and you're back at the main menu, ready to repeat that process as necessary until the partitions are all initialized and activated. Now on to the next section.
<<-- Previous Page ***<<<TWO>>>*** Next Page -->>